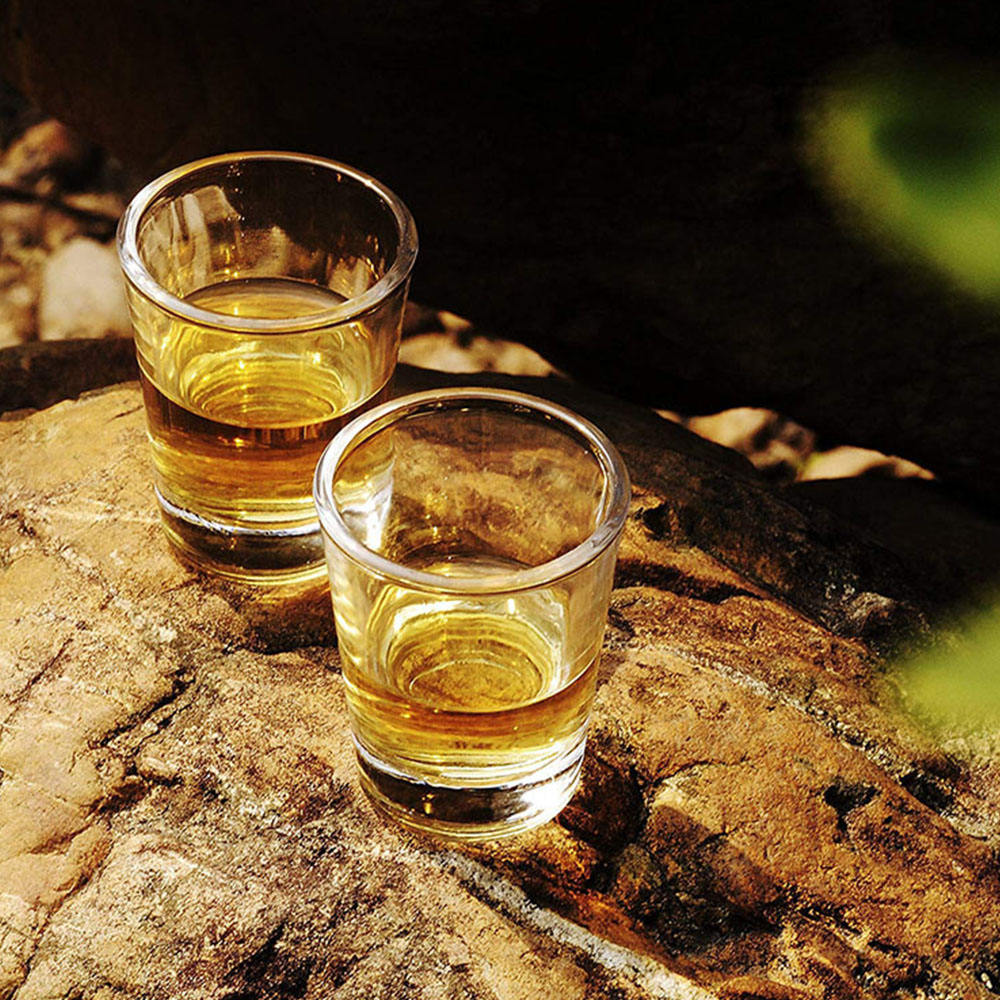
Customizing whisky glasses can be a great way to add a personal touch to your home bar or to create unique gifts for whisky enthusiasts. Here are some steps to follow when customizing whisky glasses:
- Choose the type of glass: There are several types of whisky glasses available, including traditional rocks glasses, Glencairn glasses, and tumbler glasses. Consider which type of glass best suits your needs and preferences.
- Decide on the design: You can customize whisky glasses with a wide range of designs, including etched logos, personalized text, and custom artwork. Decide on the design that you want to use and create a mockup to help visualize the final product.
- Gather materials: Depending on the design you’ve chosen, you may need a variety of materials, such as stencils, etching cream, or a vinyl cutter. Make sure you have all the necessary materials before you begin the customization process.
- Clean the glass: Before you begin customizing, make sure the glass is clean and dry. Use soap and warm water to clean the glass and then dry it thoroughly with a lint-free cloth.
- Apply the design: Depending on the design you’ve chosen, there are several ways to apply it to the glass. For example, if you’re using a stencil, place the stencil on the glass and use etching cream to create the design. If you’re using vinyl, cut out the design using a vinyl cutter and apply the vinyl to the glass.
- Allow the design to set: Depending on the materials you’re using, you may need to allow the design to set for several hours or overnight. Follow the instructions for the specific materials you’re using.
- Wash the glass: Once the design has set, wash the glass again to remove any remaining materials. Dry the glass thoroughly before using it.
Customizing whisky glasses can be a fun and creative project, but it does require some time and effort. With a little bit of planning and the right materials, you can create unique and personalized glasses that are perfect for enjoying your favorite whisky.


